As the aroma of freshly baked brownies wafts through your kitchen, you can’t help but feel a rush of comfort and nostalgia. These fudgy delights, adorned with whimsical layers of white chocolate to resemble spooky mummies, are not just a treat for the eyes but also a rich indulgence for the palate, making them the perfect centerpiece for any Halloween gathering.
What truly sets these spooky mummy brownies apart is their decadent texture — a perfect balance of chewy and gooey that melts in your mouth. Topped with playful candy eyes, they transform into delightful little ghouls that will enchant both children and adults alike. Gather your loved ones around, and let these charming treats become a festive tradition that brings joy to your Halloween celebrations.
Why You’ll Love This Spooky Mummy Brownies
These spooky mummy brownies are not just a treat for the eyes; they deliver an irresistible fudgy texture that melts in your mouth thanks to the perfect balance of granulated sugar and melted unsalted butter. The rich cocoa powder adds depth to the flavor, making every bite a delightful experience that transcends typical Halloween confections. Topped with a playful drizzle of melted white chocolate and adorned with candy eyes, these brownies are sure to be the star of any Halloween gathering, captivating both kids and adults alike. With their striking appearance and decadent taste, you’ll find yourself reaching for seconds—and possibly thirds—so why wait? Get baking and let the spooky fun begin!
What Kind of Sugar Should I Use?
For the Spooky Mummy Brownies, I recommend using granulated sugar, as it provides the perfect balance of sweetness and moisture that results in a fudgy texture. Granulated sugar dissolves easily during mixing, which helps achieve that rich, dense consistency we love in brownies. If you happen to have brown sugar on hand, you can substitute it for granulated sugar; just keep in mind that brown sugar will add a slight caramel flavor and make the brownies a bit chewier due to its higher moisture content. Adjust baking time slightly if necessary, as brown sugar can affect how quickly your brownies set.
Ingredients for the Spooky Mummy Brownies
Each ingredient in this dish plays an essential role in flavor and texture. Here’s what you’ll need:
1 cup granulated sugar: Provides sweetness and helps create a fudgy texture.
1/2 cup unsalted butter (melted): Adds richness and moisture to the brownies.
2 large eggs: Binds the ingredients together while contributing to a tender crumb.
1 teaspoon vanilla extract: Enhances the overall flavor with a warm, aromatic note.
1/3 cup unsweetened cocoa powder: Delivers deep chocolate flavor essential for brownies.
1 cup all-purpose flour: Gives structure and stability to the brownie base.
1/4 teaspoon salt: Balances sweetness and enhances the flavors of other ingredients.
1/4 teaspoon baking powder: Provides a slight lift for a lighter, airier texture.
1 cup white chocolate chips (melted): Creates a spooky mummy appearance while adding creamy sweetness.
1/2 cup candy eyes: Adds fun and whimsy, making your brownies come alive as mummies.
How To Make This Recipe
Preheat and Prepare the Pan
Preheat your oven to 350°F (175°C) and prepare a baking pan by greasing it lightly. This step is essential for ensuring your brownies don’t stick to the pan, allowing for easy removal once they are baked.
Mix Butter and Sugar
In a mixing bowl, combine the melted unsalted butter and granulated sugar. Stir well until the mixture is smooth and fully combined, creating a glossy base for your brownie batter.
Add Eggs and Vanilla
Next, crack in the two large eggs and add 1 teaspoon of vanilla extract. Whisk these ingredients together until the mixture is smooth and slightly thickened, which will help incorporate air for a fudgier texture.
Combine Dry Ingredients
In another bowl, sift together 1/3 cup of unsweetened cocoa powder, 1 cup of all-purpose flour, 1/4 teaspoon of salt, and 1/4 teaspoon of baking powder. This ensures that all dry ingredients are evenly distributed before being added to the wet mixture.
Mix Wet and Dry Ingredients
Gradually add the dry ingredient mixture to the wet ingredients. Stir gently until just combined; be careful not to overmix, as this can lead to dense brownies. You want a thick batter with no visible streaks of flour.
Pour Batter into Pan
Pour the brownie batter into your prepared baking pan, spreading it evenly with a spatula. This will ensure that your brownies bake uniformly without any undercooked spots.
Bake Until Set
Place the pan in your preheated oven and bake for 25-30 minutes. The brownies are done when a toothpick inserted in the center comes out clean or with just a few moist crumbs attached.
Cool Completely
Once baked, remove the brownies from the oven and allow them to cool completely in the pan on a wire rack. This cooling step is crucial as it allows the brownies to set properly before decorating.
Melt White Chocolate
While waiting for the brownies to cool, melt 1 cup of white chocolate chips in the microwave in short bursts, stirring frequently until smooth. Be cautious not to overheat; you want it silky without burning.
Prepare for Decorating
Transfer the melted white chocolate into a piping bag or a zip-top bag with one corner snipped off. This will give you better control when decorating your spooky mummies later on.
Pipe Chocolate Bandages
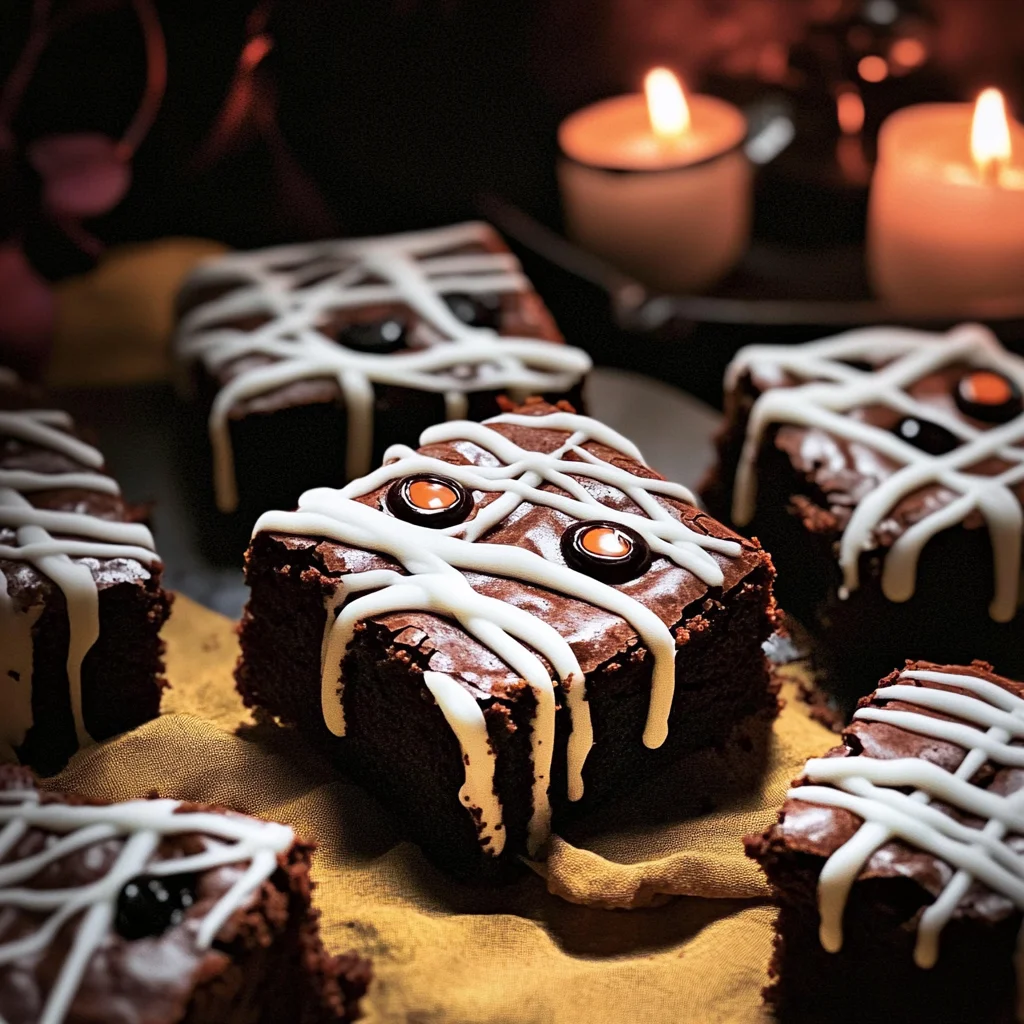
Once the brownies are cool, pipe melted white chocolate over them in a crisscross pattern to mimic mummy bandages. Aim for an uneven distribution for a more authentic look; this adds character to each brownie.
Add Candy Eyes
Carefully place candy eyes on each brownie while the white chocolate is still warm so they adhere properly. Position them randomly on different brownies for an extra spooky effect!
Let Chocolate Set
Finally, let the decorated brownies sit at room temperature until the chocolate has completely set before serving. This should take about 20 minutes; you’ll know they’re ready when they feel firm to touch without any stickiness.
How to Serve and Store Spooky Mummy Brownies
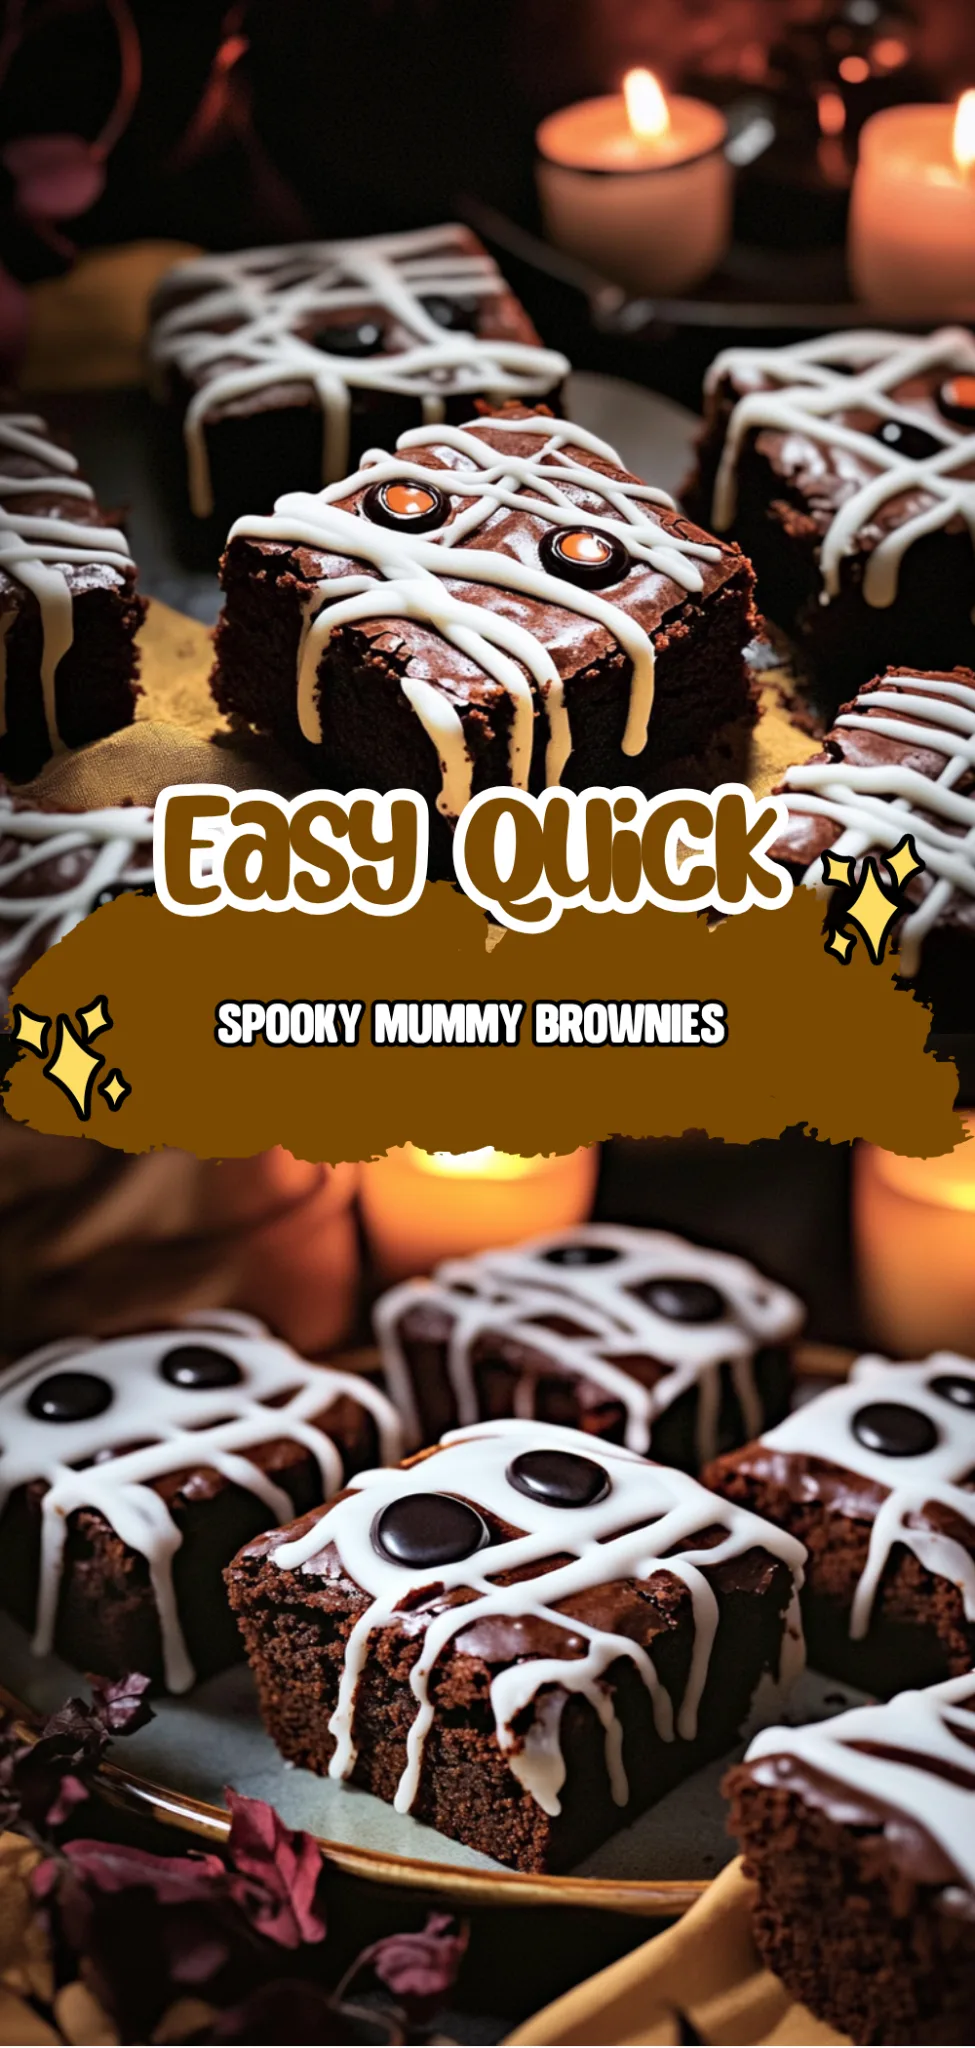
These Spooky Mummy Brownies yield 4 delightful servings, making them perfect for sharing at Halloween gatherings. For a festive presentation, plate them on a spooky-themed platter surrounded by mini pumpkins or serve them alongside vanilla ice cream to balance the rich chocolate flavor. Drizzle some melted white chocolate over the top for an extra touch of fun, creating an enticing dessert that captures the spirit of the season.
To store any leftovers, simply place the brownies in an airtight container lined with parchment paper and refrigerate for up to 5 days. When you’re ready to enjoy them again, reheat in the microwave for about 10-15 seconds; this will keep their fudgy texture intact without drying them out. While these brownies are best enjoyed fresh, they can be frozen for longer storage—though you may notice a slight change in texture once thawed.
Creamy Mashed Potatoes
The velvety richness of creamy mashed potatoes provides a delightful contrast to the fudgy texture of Spooky Mummy Brownies.
Roasted Brussels Sprouts
Caramelized and slightly crispy, roasted Brussels sprouts offer a savory bite that balances the sweetness of the brownies perfectly.
Garlic Bread
Warm and buttery garlic bread adds a comforting crunch that complements the decadent chocolate flavor of the Spooky Mummy Brownies.
Spinach Salad with Balsamic Vinaigrette
This fresh spinach salad’s bright acidity from the balsamic vinaigrette cuts through the richness of the brownies for a refreshing contrast.
Cheesy Macaroni
Creamy and cheesy macaroni brings a nostalgic comfort that pairs beautifully with the sweet chocolatey goodness of Spooky Mummy Brownies.
Pumpkin Soup
A warm bowl of pumpkin soup introduces cozy fall flavors that enhance the Halloween spirit while providing a smooth texture to offset the brownies.
Frequently Asked Questions
Can I use coconut oil instead of unsalted butter?
Yes, you can substitute coconut oil for unsalted butter in this recipe. Just make sure to melt it first and measure the same amount, as it will give your brownies a slightly different but still delicious flavor.
Are there any gluten-free options for this brownie recipe?
Absolutely! You can replace all-purpose flour with a gluten-free flour blend. Make sure to choose one that is designed for baking to maintain the right texture and consistency in your spooky mummy brownies.
Can I make these brownies ahead of time?
Yes, you can prepare the brownies a day in advance. Just be sure to store them in an airtight container at room temperature after they have cooled completely, and decorate them just before serving to keep the chocolate fresh.
How do I know when my brownies are done baking?
To check if your brownies are done, insert a toothpick into the center; it should come out with a few moist crumbs but not wet batter. Baking times may vary slightly based on your oven, so keep an eye on them after 25 minutes.
What if I want to add nuts or other mix-ins?
You can definitely add nuts like walnuts or pecans to the brownie batter before baking. Just chop them coarsely and fold them in gently after mixing the dry ingredients with the wet ones for added texture and flavor.
Conclusion
These Spooky Mummy Brownies are not only deliciously fudgy but also a fun and festive treat that will impress your Halloween party guests. Be sure to check out other delightful recipes like [Witch’s Brew Cupcakes] or [Ghostly Pumpkin Spice Cookies] for more ways to celebrate the season. We’d love for you to save this recipe on Pinterest and share your spooky creations with us in the comments!
Spooky Mummy Brownies
Ingredients
Method
- Preheat the oven to 350°F (175°C). Grease a baking pan.
- In a mixing bowl, combine melted butter and sugar. Mix well.
- Add eggs and vanilla extract, whisking until smooth.
- In another bowl, mix cocoa powder, flour, salt, and baking powder.
- Gradually add the dry ingredients to the wet mixture, stirring until combined.
- Pour the batter into the prepared baking pan and spread evenly.
- Bake for 25-30 minutes or until a toothpick comes out clean.
- Allow brownies to cool completely before decorating.
- Melt the white chocolate chips in the microwave, stirring until smooth.
- Transfer the melted chocolate to a piping bag.
- Pipe the melted chocolate over the cooled brownies in a crisscross pattern to resemble mummy bandages.
- Place candy eyes on each brownie to complete the mummy look.
- Let the chocolate set before serving.
Leave a Comment