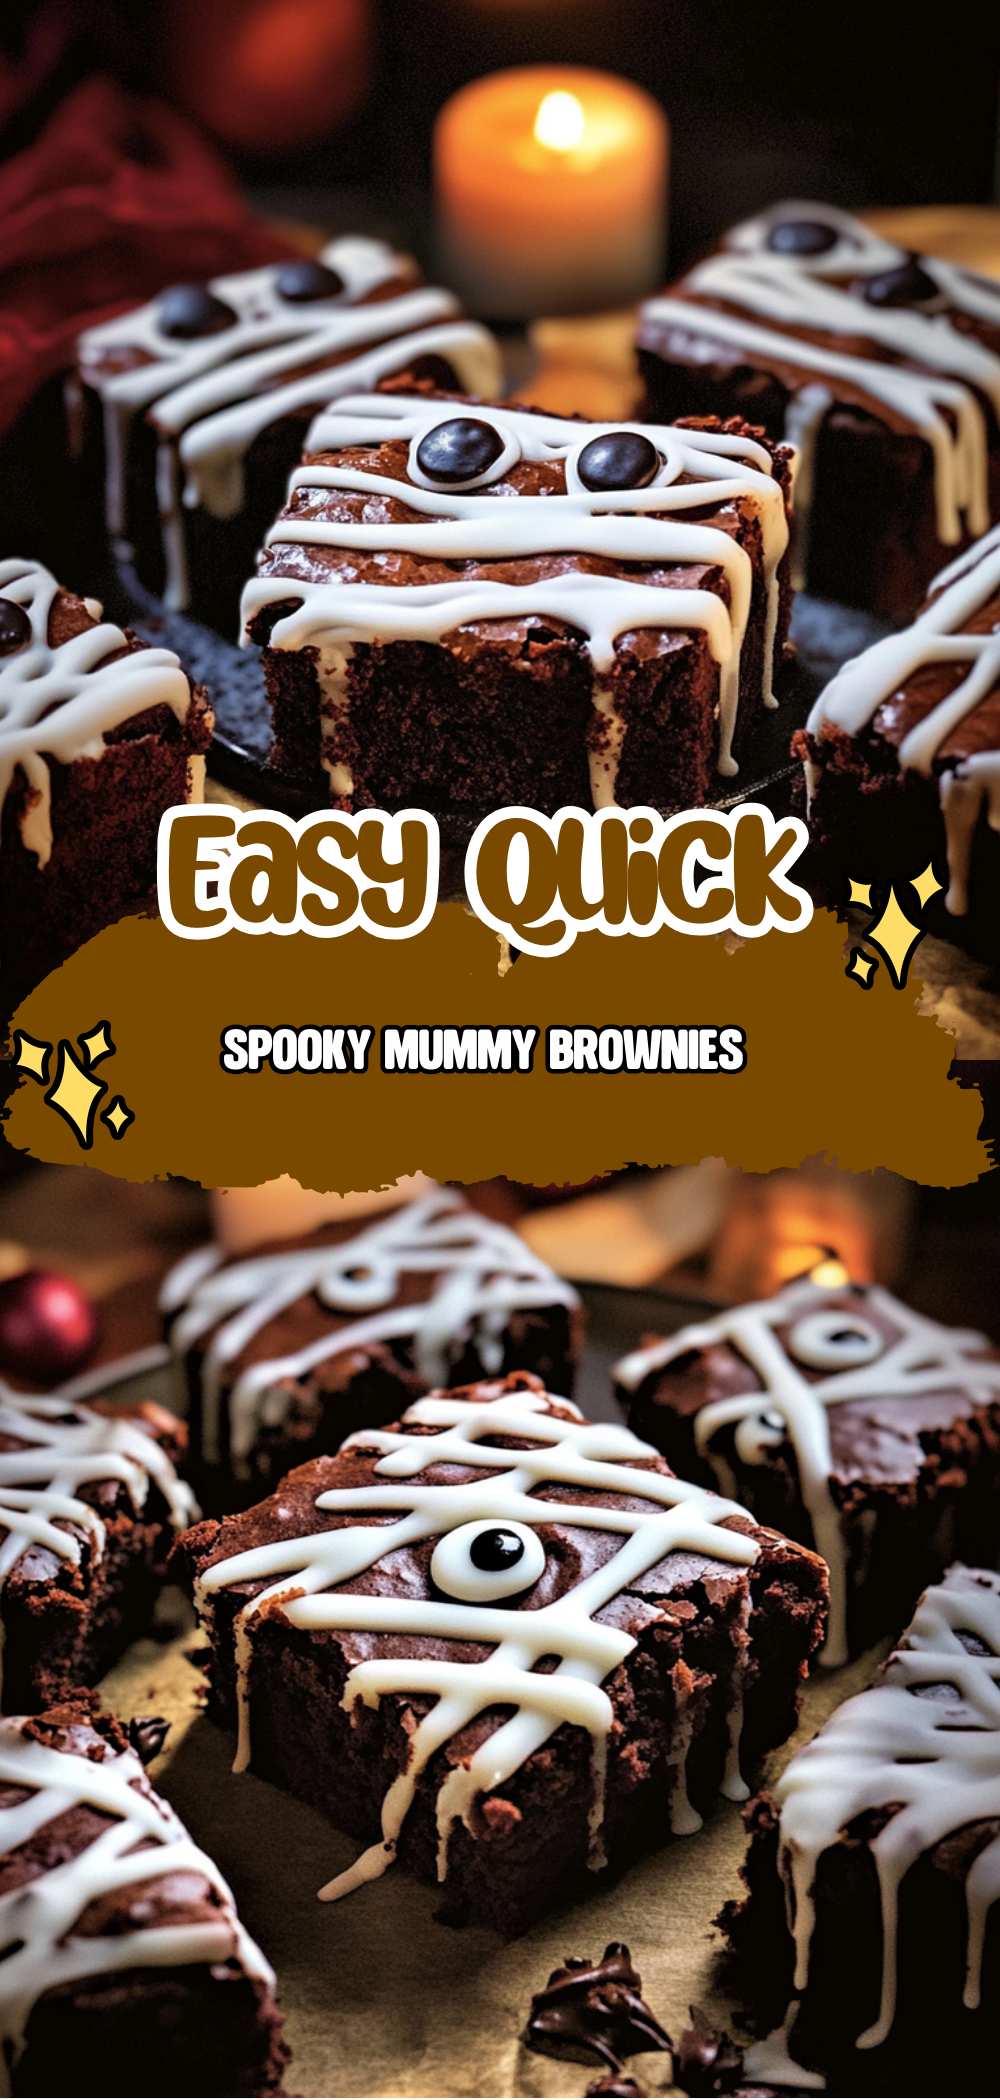
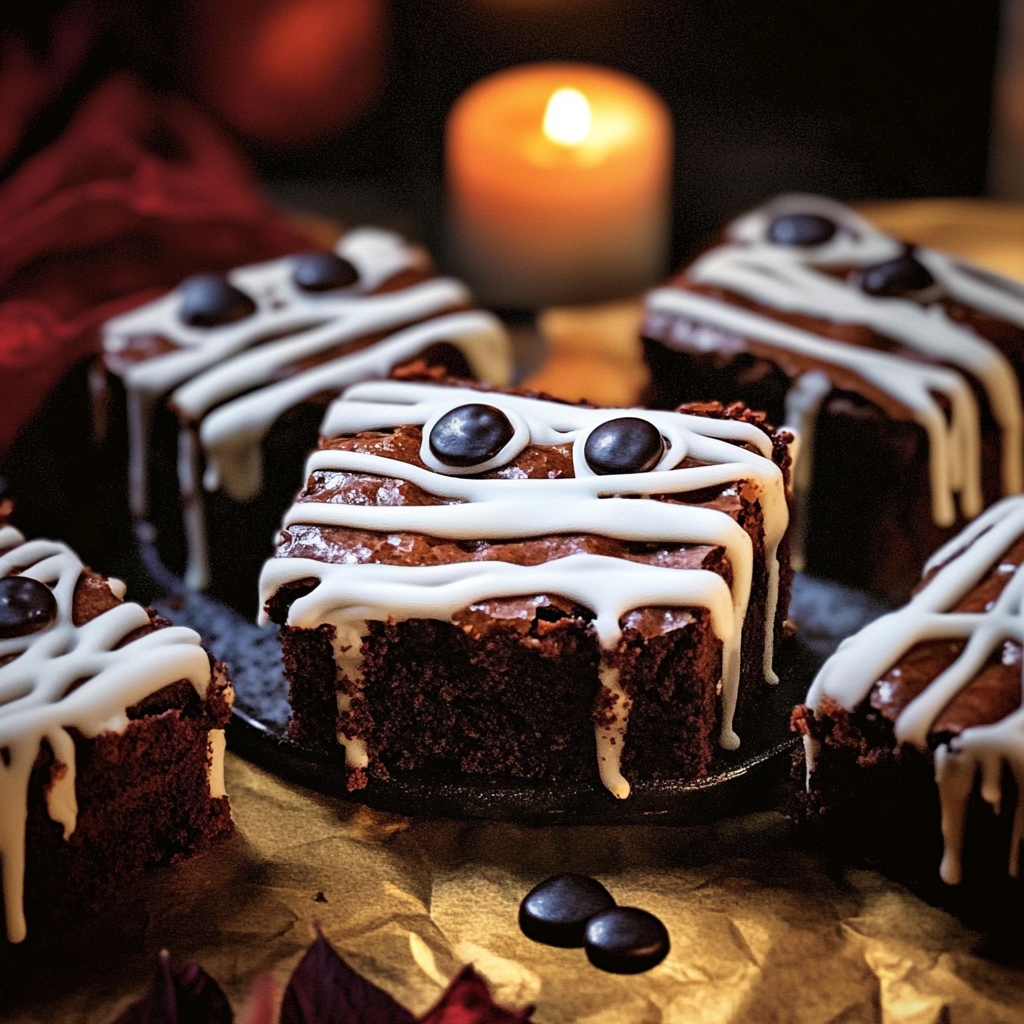
Spooky mummy brownies are the perfect treat to celebrate the Halloween season. With their adorable design and rich chocolate flavor, they combine festive fun with indulgent taste.
These delightful brownies are not only visually appealing but also incredibly simple to make. You’ll be amazed at how quickly you can whip up these delicious morsels that are sure to be a hit at any Halloween gathering.
Why You'll Love This spooky mummy brownies
Foolproof techniques guarantee perfect results every single time making even novice cooks feel like professional chefs.
Stunning visual appeal with gorgeous colors creates the ultimate Instagram-worthy dish for any occasion.
Endlessly adaptable for different dietary needs while working beautifully for meal prep or entertaining groups effortlessly.
Ingredients for spooky mummy brownies
Here is what you will need to make this delicious spooky mummy brownies:
10 tbsp butter: Use unsalted for better control of sweetness.
1 1/2 cups dark chocolate chips or chunks: Choose high-quality chocolate for rich flavor.
1 cup sugar: Granulated sugar adds sweetness and helps achieve the right texture.
1/4 cup dark brown sugar: This adds a deeper flavor and moisture.
3 eggs, at room temperature: Room temperature eggs blend better into batters.
1 tsp espresso powder (optional): Enhances the chocolate flavor without adding coffee taste.
2 tsp vanilla extract: Adds warmth and depth to the brownies.
3/4 cup all-purpose flour: The base for your brownie batter, providing structure.
1/3 cup unsweetened cocoa powder: Intensifies the chocolate flavor in the brownies.
1/2 tsp baking powder: Helps the brownies rise slightly for a lighter texture.
1/2 tsp kosher salt: Balances sweetness and enhances overall flavor.
1 package candy eyes: For decorating and adding character to your mummies.
20 oz semi-sweet or milk chocolate chips: For coating the brownies, choose according to preference.
1 tbsp coconut oil: Helps achieve a smooth, shiny finish on the coating.
1 cup powdered sugar: For making the bandage icing.
2-3 tbsp heavy cream, to thin: Adjusts consistency for easy piping of icing.
Almost too cute to eat. Honestly, I can’t eat them, because they’re way too cute. But so delicious. It’s a moral battle.
How to Make spooky mummy brownies
Follow these simple steps to prepare this delicious spooky mummy brownies:
Step 1: Preheat and Prepare Your Pan Start by preheating your oven to 350 degrees Fahrenheit. Line a 9 x 9 inch cake pan with parchment paper, ensuring it hangs over the edges for easy removal later.
Step 2: Melt Chocolate and Butter In a microwave-safe bowl, combine 1 cup of dark chocolate chips with 10 tablespoons of butter. Heat in the microwave for one minute and stir until smooth; if necessary, heat for an additional 20 seconds.
Step 3: Mix Wet Ingredients Using a stand mixer, beat three room-temperature eggs on high speed until frothy—this should take about 2-3 minutes. Gradually add in the melted chocolate mixture while continuing to beat until fully combined.
Step 4: Combine Dry Ingredients To your wet mixture, add in flour, cocoa powder, baking powder, kosher salt, and remaining chocolate chips; mix until just combined without overmixing.
Step 5: Bake Brownies Spread the brownie batter evenly into your prepared pan using a spatula. Bake in your preheated oven for 25-30 minutes or until a toothpick comes out with just a few moist crumbs attached.
Step 6: Chill and Decorate Once cooled, cut your brownies into squares and chill them in the freezer for about 15 minutes before dipping them in melted chocolate mixed with coconut oil for that perfect coating finish! Once coated and set in the fridge again, decorate with bandage icing made from powdered sugar and cream before adding candy eyes for that spooky touch!
Perfecting spooky mummy brownies Cooking Process
Efficiently making spooky mummy brownies involves careful planning and execution. By preparing all your ingredients in advance, you can focus on the fun part of mixing and baking. This not only saves time but also ensures that every step flows smoothly, resulting in perfectly baked brownies ready for decorating.
Add Your Touch to spooky mummy brownies
You can easily add a personal twist to your spooky mummy brownies by incorporating different flavors or toppings. Consider adding nuts for a delightful crunch or swirling in some peanut butter for an extra layer of flavor. You could also use colored icing to create unique designs or even experiment with different candy decorations for the eyes.
Storing and Reheating spooky mummy brownies
To keep your spooky mummy brownies fresh, store them in an airtight container at room temperature for up to three days. If you need to keep them longer, consider freezing them. Wrap each brownie individually in plastic wrap, then place them in a freezer-safe bag or container. When you’re ready to enjoy, simply thaw at room temperature or warm them slightly in the microwave.
Chef's Helpful Tips for spooky mummy brownies
I fondly remember making these spooky mummy brownies with my kids during Halloween last year. Watching their faces light up as they decorated each one with icing and candy eyes was truly priceless.
FAQs About spooky mummy brownies
What is spooky mummy brownies?
Spooky mummy brownies are a fun and festive dessert inspired by Halloween themes. They are rich, fudgy chocolate brownies decorated to resemble mummies using white icing as bandages and candy eyes for that playful touch. Perfect for parties or family gatherings, these treats combine decadence with creativity, appealing to both kids and adults alike.
Can I make spooky mummy brownies ahead of time?
Yes, you can prepare spooky mummy brownies ahead of time. They can be baked a day or two in advance and stored properly until you’re ready to decorate them. Simply allow them to cool completely before wrapping them tightly in plastic wrap or placing them in an airtight container. Decorate just before serving to maintain the freshness and appearance of the icing.
What type of chocolate works best for these brownies?
Using high-quality dark chocolate chips or chunks is ideal for achieving rich flavors in your spooky mummy brownies. Dark chocolate balances well with the sweetness from sugars, creating a deliciously fudgy texture that pairs wonderfully with the decorative elements like icing and candy eyes.
How do I make my icing thicker or thinner?
Adjusting the consistency of your icing is easy! If it’s too thick, gradually add more heavy cream until you reach your desired thickness. For thicker icing suitable for bandage designs, use less cream and whisk until it achieves a paste-like consistency similar to Elmer’s glue. This allows for better control when decorating your mummies.
Conclusion for spooky mummy brownies
In conclusion, spooky mummy brownies are not only adorable but also incredibly delicious and perfect for Halloween celebrations. With their rich chocolate base and fun decoration, they bring joy and creativity into baking while being a hit at any gathering. Whether enjoyed at home or shared with friends, these treats will surely become a seasonal favorite everyone looks forward to each year!
Spooky Mummy Brownies
Ingredients
Method
- Preheat your oven to 350 degrees Fahrenheit. Line a 9 x 9 inch cake pan with parchment paper, ensuring it hangs over the edges for easy removal later.
- In a microwave-safe bowl, combine 1 cup of dark chocolate chips with 10 tablespoons of butter. Heat in the microwave for one minute and stir until smooth; if necessary, heat for an additional 20 seconds.
- Using a stand mixer, beat three room-temperature eggs on high speed until frothy—this should take about 2-3 minutes. Gradually add in the melted chocolate mixture while continuing to beat until fully combined.
- To your wet mixture, add in flour, cocoa powder, baking powder, kosher salt, and remaining chocolate chips; mix until just combined without overmixing.
- Spread the brownie batter evenly into your prepared pan using a spatula. Bake in your preheated oven for 25-30 minutes or until a toothpick comes out with just a few moist crumbs attached.
- Once cooled, cut your brownies into squares and chill them in the freezer for about 15 minutes before dipping them in melted chocolate mixed with coconut oil for that perfect coating finish! Once coated and set in the fridge again, decorate with bandage icing made from powdered sugar and cream before adding candy eyes for that spooky touch!
Leave a Comment